How to use GoNomo
You connect your listings once. After that you tell Nomo what you need, or click through the screens, and the marketing gets made. Five minutes to start, then nine things you will do most, shown on the real product.
Start here. Five minutes.
Create your account
Press Create account on the sign-in page: your name, your email, a password. A 6-digit code arrives by email to confirm the address. During the beta only invited emails can create an account, so use the one Patrick or Courtney has. You stay signed in for days.
Paste your listings link
Your name, then the link to the page that lists your homes (your agent page on the brokerage site, Zillow, or the MLS). Not the brokerage home page. GoNomo reads the listings, photos and your brand.
Ask Nomo something
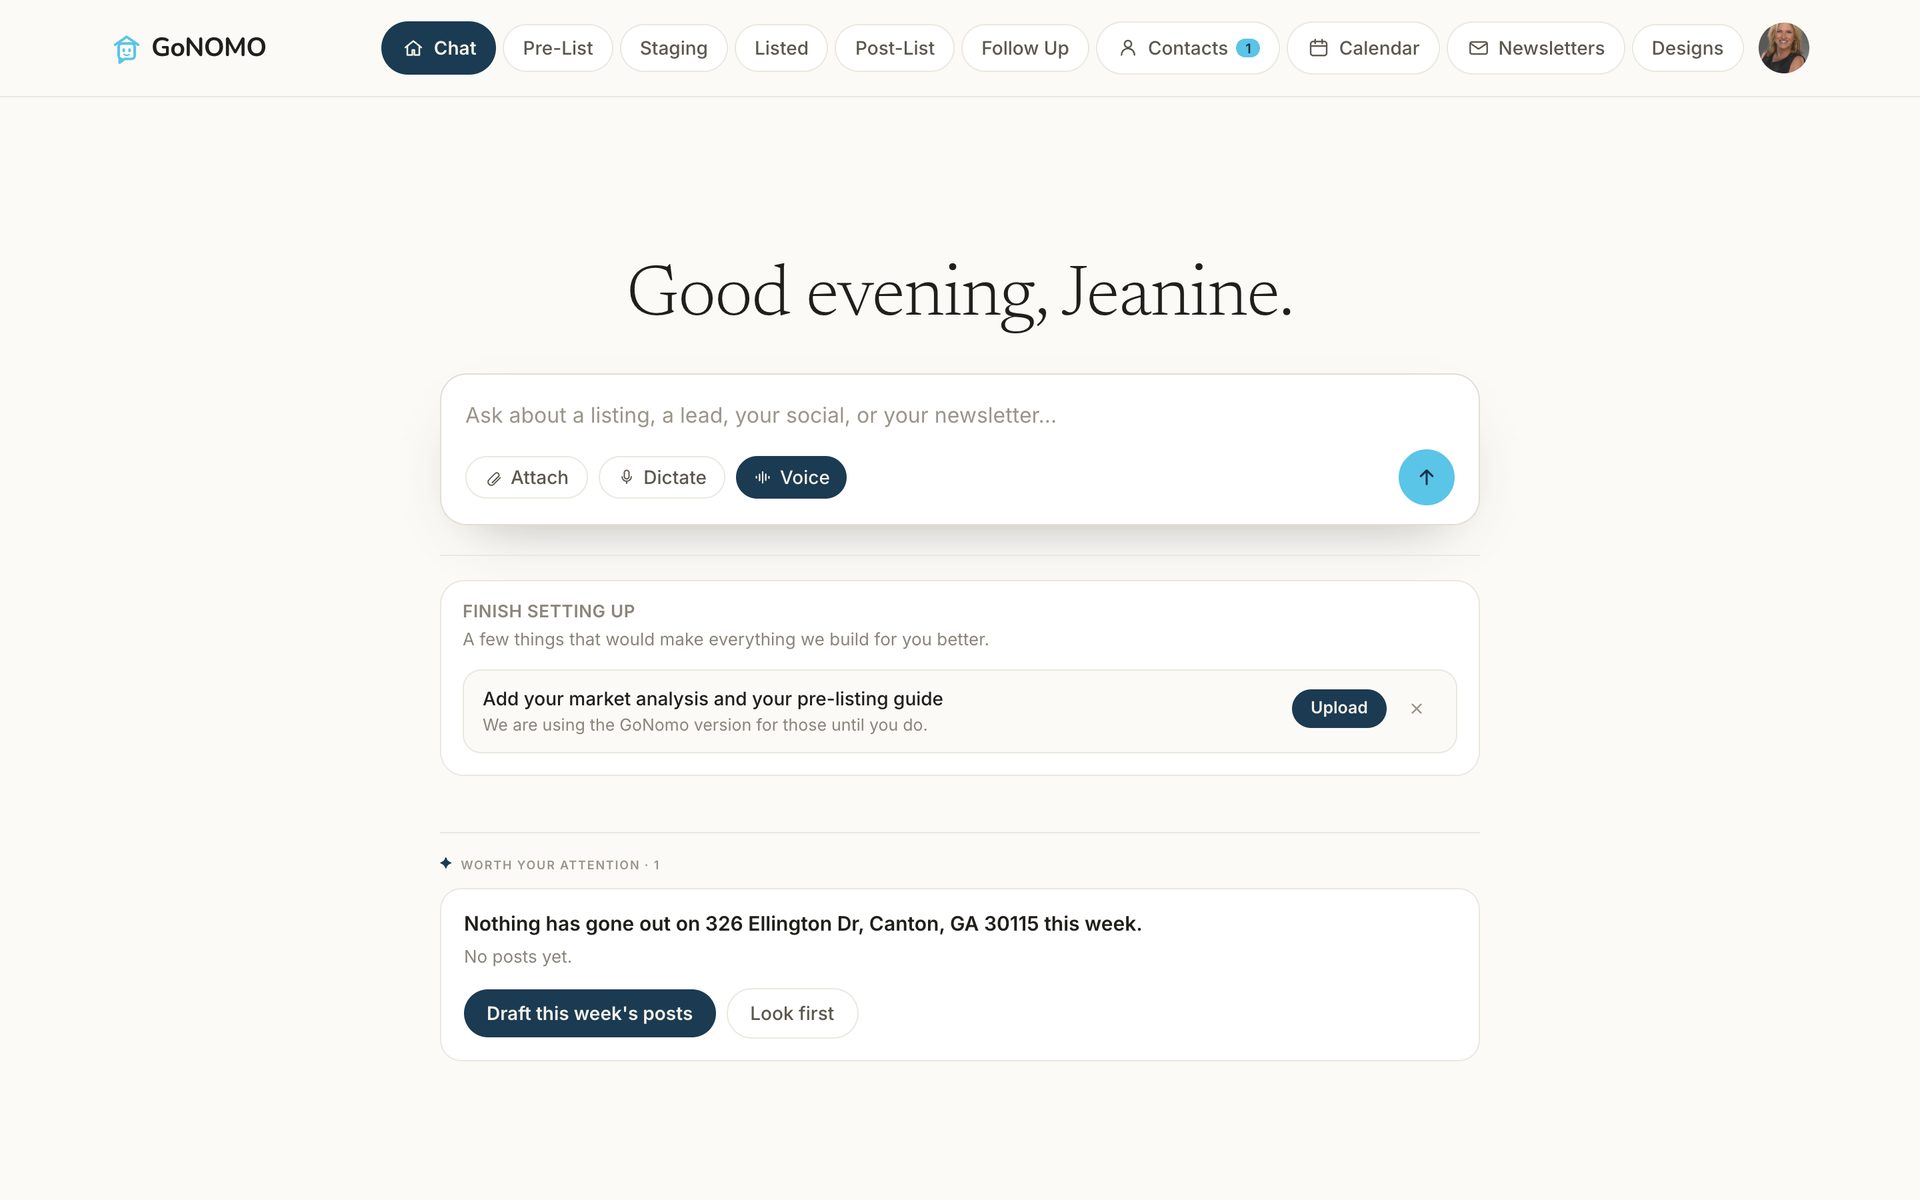
While the import runs you can already go in. Home greets you; the box in the middle is Nomo. Try What needs my attention?
1. Ask Nomo for anything
Nomo knows which page you are on and which home you are looking at. Plain words work.
- 1Click the box on Home (or the bar at the bottom of any page).
- 2Type what you want, or press Dictate and say it.
- 3Press the arrow. Nomo answers, and if it built something, it tells you where it is.
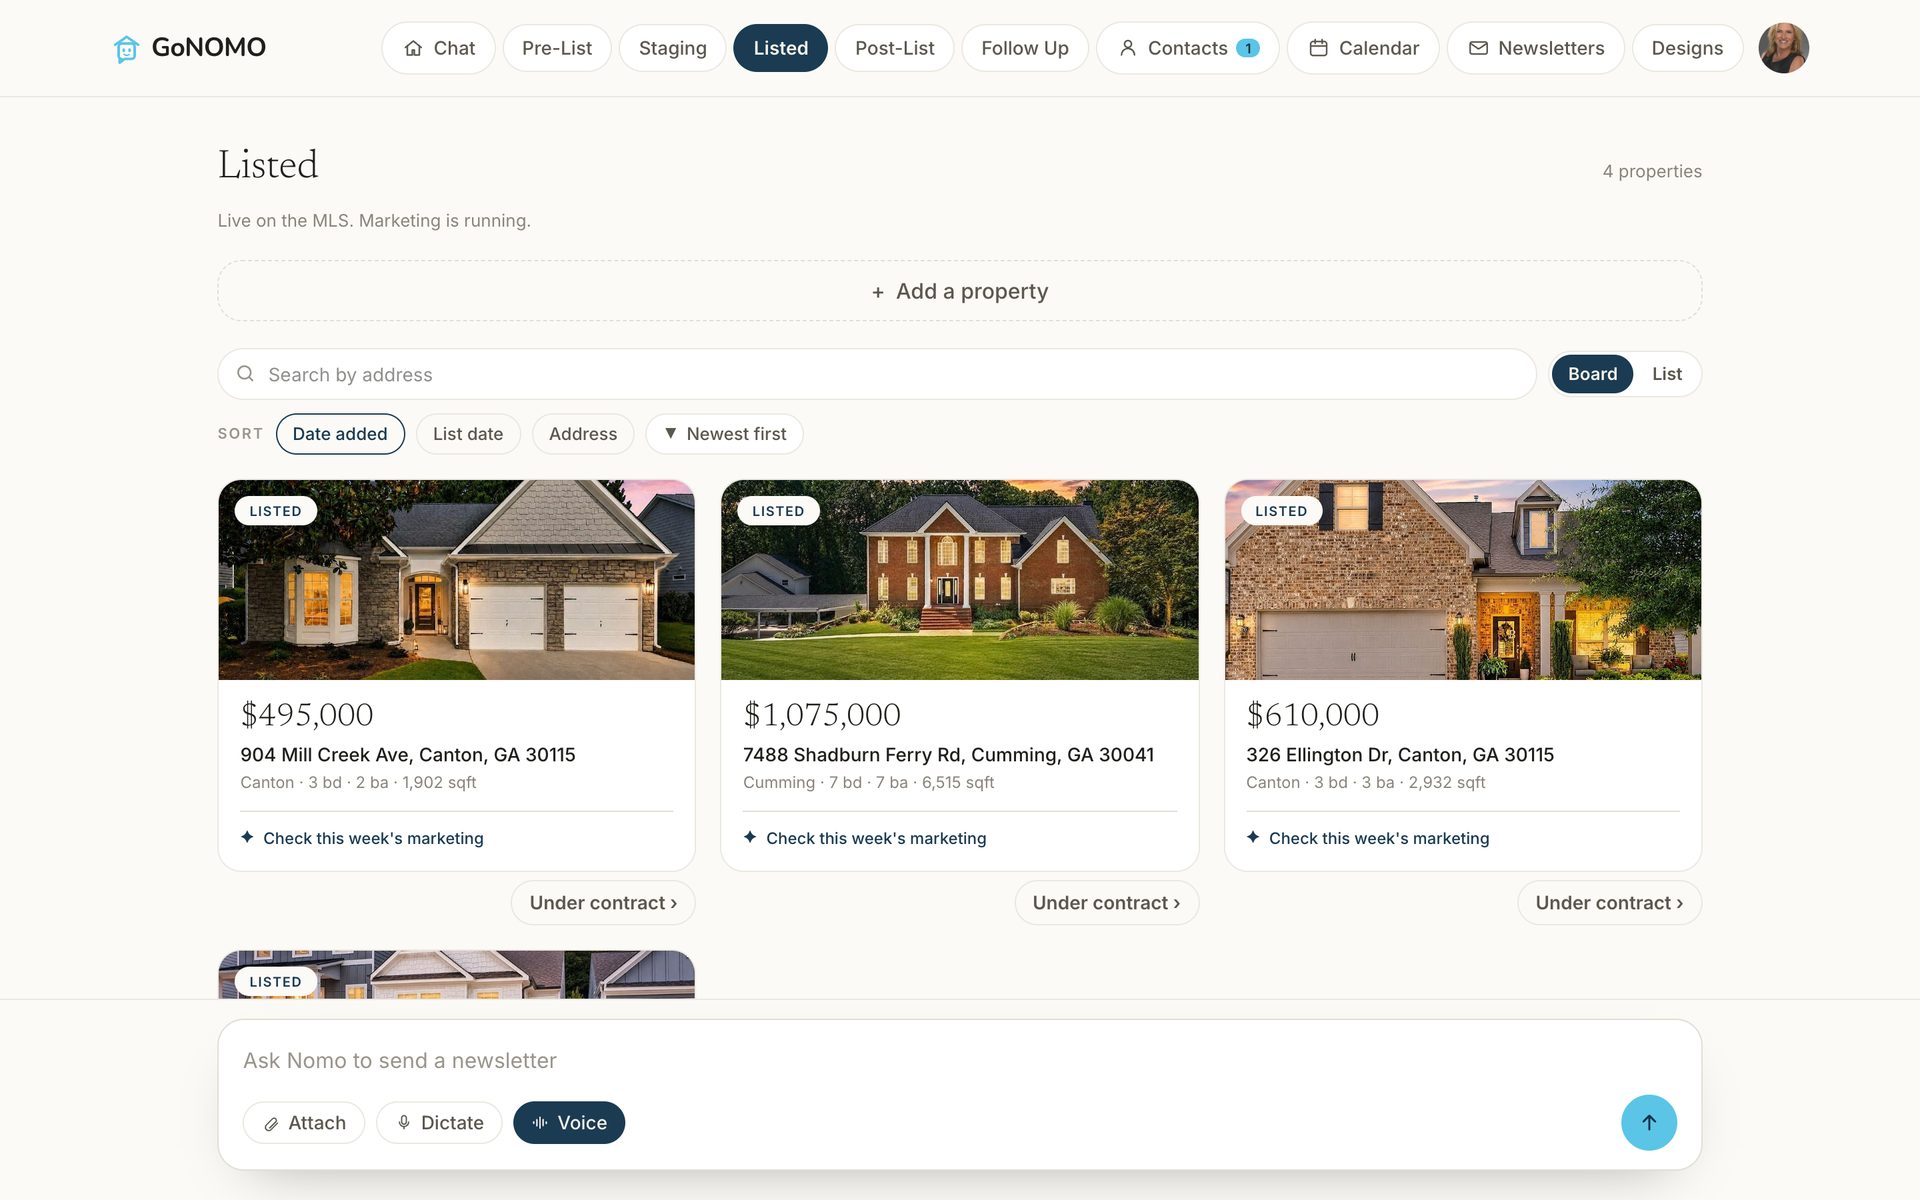
2. Move a home along
Every home is a card on a board. The button under the card is the next step.
- 1Open Listed (or Pre-List, Post-List, Follow Up) in the top bar.
- 2Find the home. Search by address if the board is long.
- 3Press the button under its card: Ready to list, Under contract, Closed, Relist it.
- 4The history on the home's page records the move and who made it.
3. Stage a room
Furnish an empty room, or refresh a tired one, before the MLS sees it. Staging is its own tab between Pre-List and Listed, and it is on every home's page too.
- 1Open Staging in the top bar. Every home with photos is listed; press Stage on one. A Pre-MLS home with no photos says Add photos: upload them on the property page first.
- 2Pick a room photo, then a style. The first pass takes about half a minute; a style you already used is instant.
- 3Toggle before and after in the corner. Download it (the virtually-staged disclosure is printed on the image) or press Save to this property to keep it with the home.
- 4Your MLS's rules decide how a staged photo is labeled when you upload it there. GoNomo does not push photos to the MLS.
4. Build the listing presentation
The market analysis, the pre-listing guide and the listing presentation, from your template or ours.
- 1Open the home's page from any board.
- 2Under Documents, press build on the piece you need, or ask Nomo.
- 3A minute later, Open PDF gives you the file, and Present next to it opens the deck full screen for the seller's kitchen table. If you put your own brochure in a slot (next task), it is built from yours.
5. Bring your own brochure
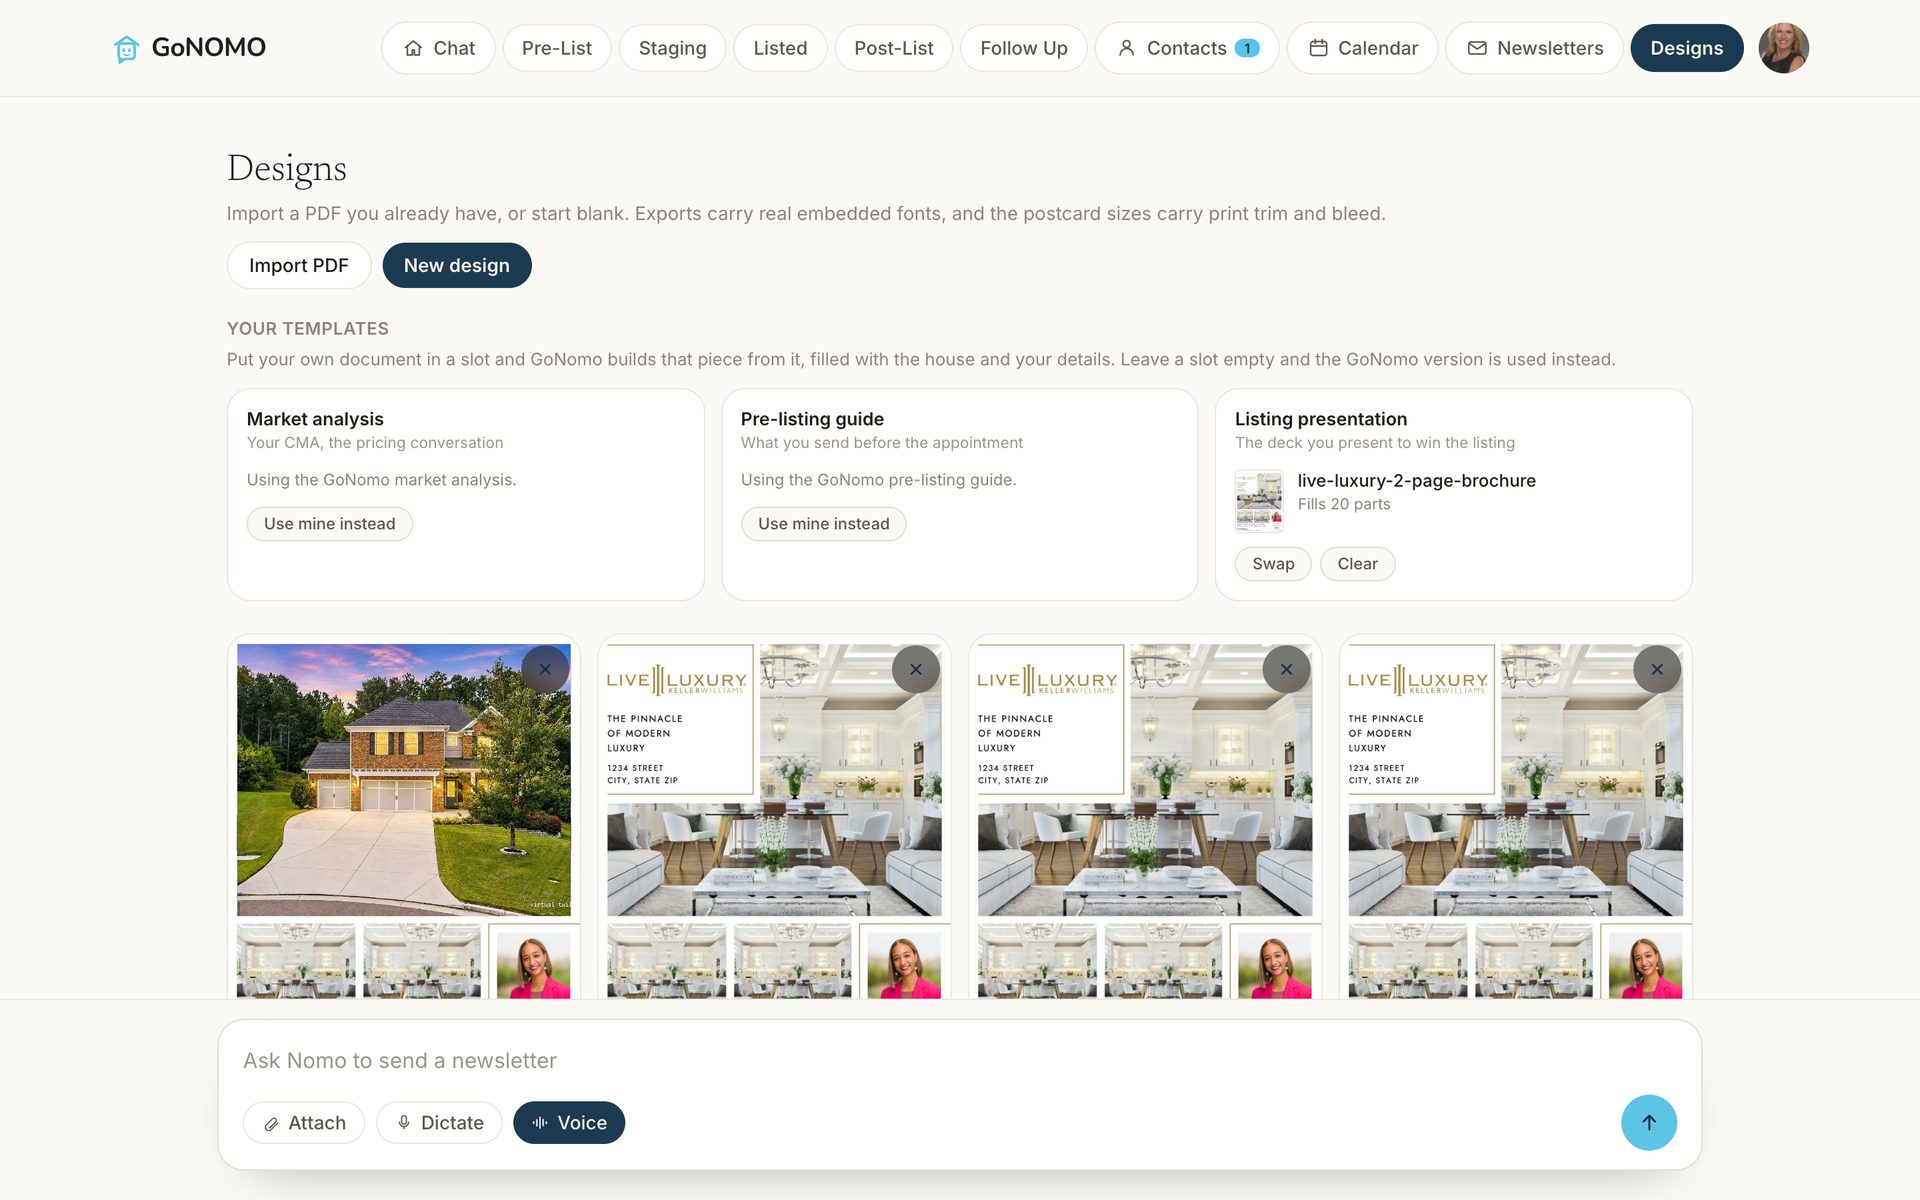
Import the PDF you already use. GoNomo maps the fields and photo frames and fills it for every home.
- 1Open Designs, press Import PDF, pick your Canva or InDesign export.
- 2Wait for the card to say how many parts it can fill (name, phone, address, price, photos, headshot).
- 3Under Your templates, press Use mine instead on the slot it belongs to.
- 4Open the design to fix a line or swap a photo. Export PDF when you want the file.
6. Make and save a reel
Every listing gets three reels and three carousels. The reels render when you ask for them, from the listing's own photos.
- 1Open the home's page from Listed and scroll to Social. The Reels group shows walkthrough, fly-through and guess the price.
- 2Press build on one. It takes a few minutes; you can leave the page and come back.
- 3When the card shows the video, press Save video on the reel card. The MP4 lands in your downloads, ready for Instagram, Facebook or TikTok. On a phone, Share opens the share sheet.
- 4Carousels post straight from the card once Instagram is connected in Settings.
7. See who reached out
Every buyer who fills a form, signs in at an open house, or comes from your old CRM lands in Contacts, tagged by source.
- 1Open Contacts. The Leads tab shows hot, warm and new.
- 2Open a person to see the homes they asked about and the timeline.
- 3Log a call, text or showing, or email them from here. The reply goes out under your name.
- 4Under Requests, say yes to a showing. It lands on the calendar.
8. Share a listing page
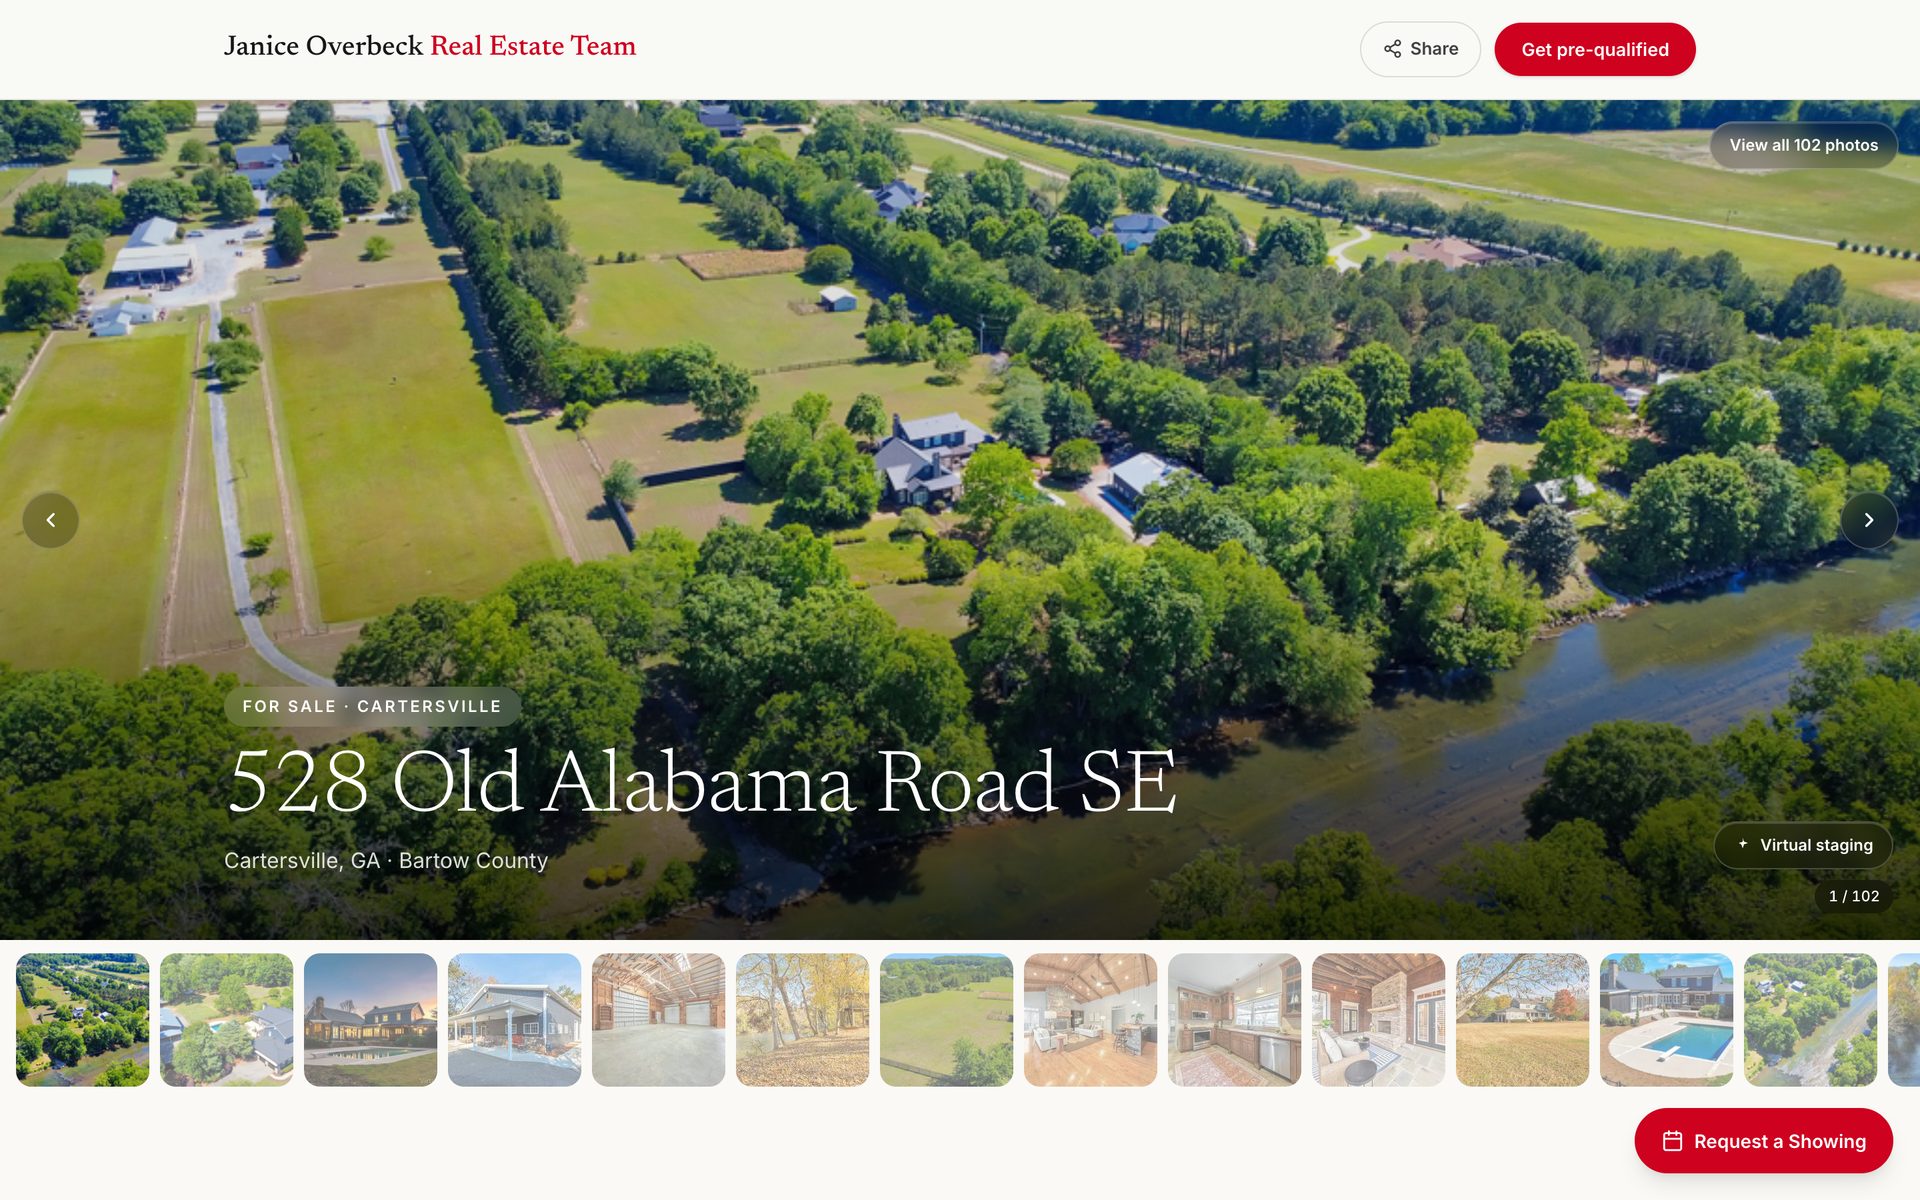
Every home gets a page in your brand the moment it is connected. The link is unique to you.
- 1Open the home's page and press Share, or copy the link from the listing card.
- 2A buyer can ask the chat about the home, request a showing against your hours, get pre-qualified, or run the mortgage calculator.
- 3For an open house, find the Open house row on the home's page in GoNomo. Schedule it, then Open the sign-in page on the tablet at the door, or Copy link for a QR code. Sign-ins land in Contacts tagged open house.
9. Invite your admin
One team, one login each. Everyone on it works the same listings, contacts, calendar and designs.
- 1Open Settings, then Team. Start the team if you have not.
- 2Type the email, pick Admin or Member, press Invite.
- 3Send them the link the page shows if the email has not reached them.
- 4They sign in with their own email, give their name, and land on your board. No import.
Where things live
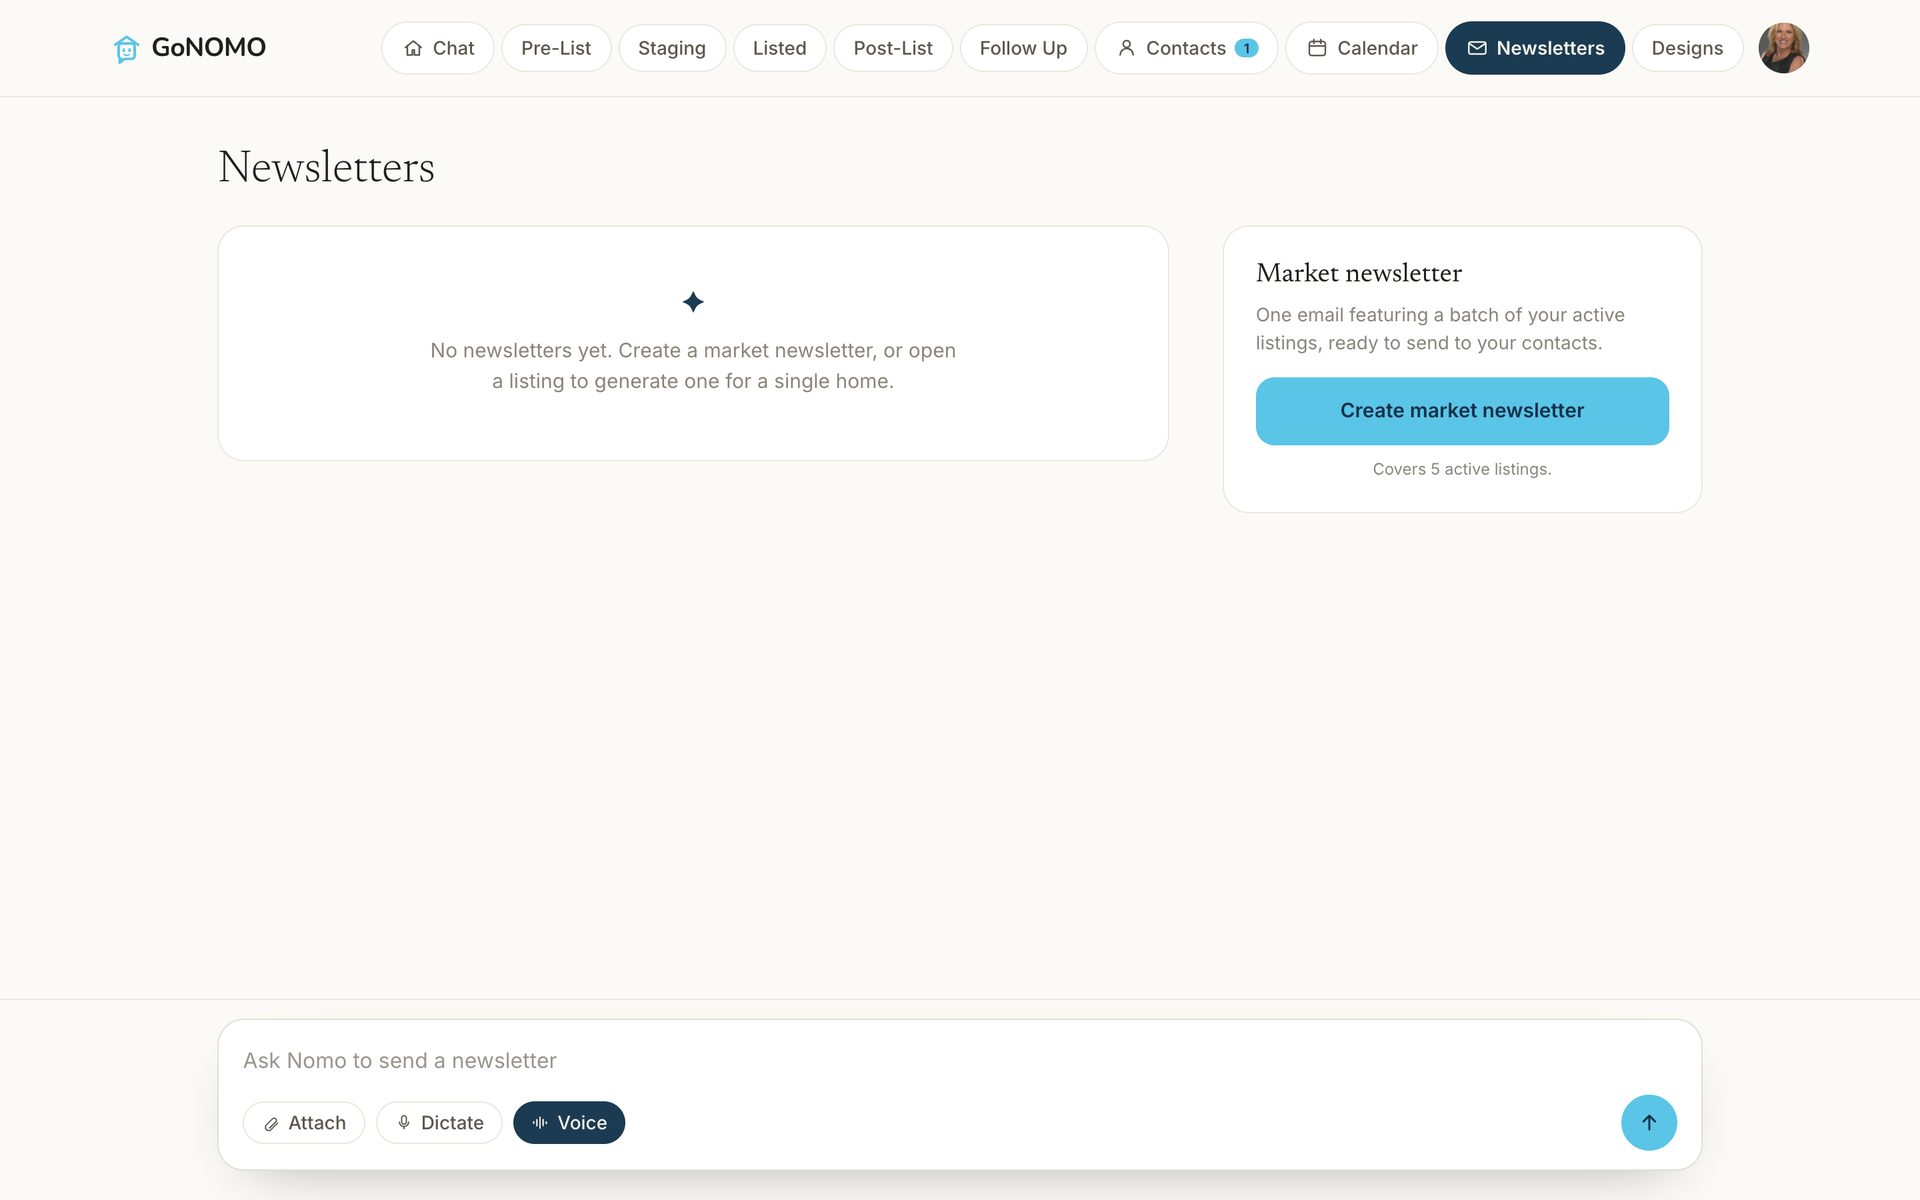
Before you send a newsletter
- 1Put your mailing address in Settings (the law requires it on marketing email).
- 2Open Newsletters, pick the piece, edit the headline, badge or photos.
- 3Press Send and choose the list. Every email carries a one-click unsubscribe; anyone who opts out is skipped from then on.
If a piece was built before your address was on file, the send says "Rebuild it and send again". That is the product being honest, not broken.
Not on yet, on purpose
- Newsletter and invite email. Built, waiting on the sending domain. A send that cannot go out says so rather than pretending. Sign-in codes are separate and do arrive.
- MLS push. GoNomo reads your listings; it never writes to the MLS. Staged photos are downloaded and uploaded by you, under your MLS's rules.
- Cards and subscriptions. Not built. Nobody is charged in the beta.
- Comps come from public sale records we can name; where there is none for an area yet, the market analysis says so.
Found something wrong? Press the ? at the top right on desktop, or Send feedbackin Settings on your phone: what happened, what you expected, a screenshot if you have one. It reaches the team with your account and the page on it, so "the reel never finished" is enough for us to find it.